Basic Information
Name your group, pick the sport and venue, and decide how players join.
Open this in the app →-
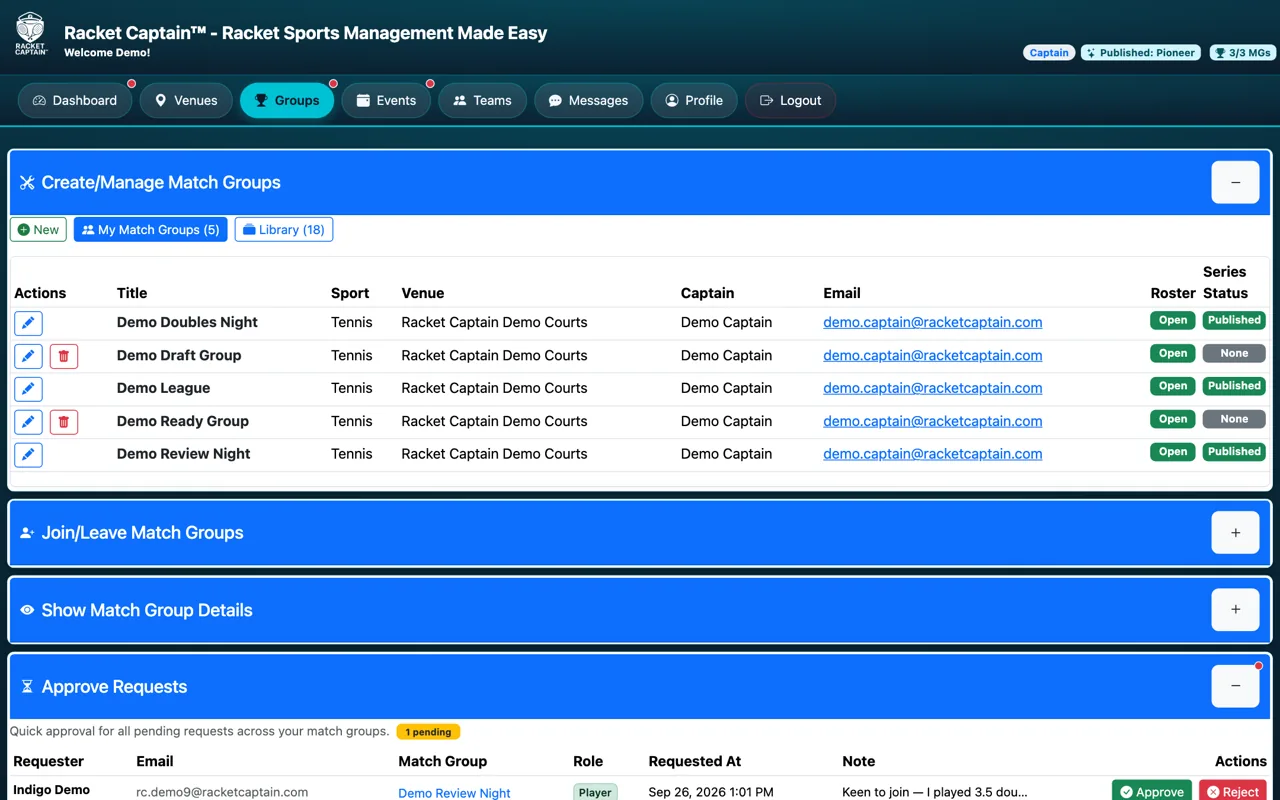
Step 1. Open Create/Manage Match Groups and tap New — or start from the Library with a ready-made template. The setup page opens on Basic Information.
-
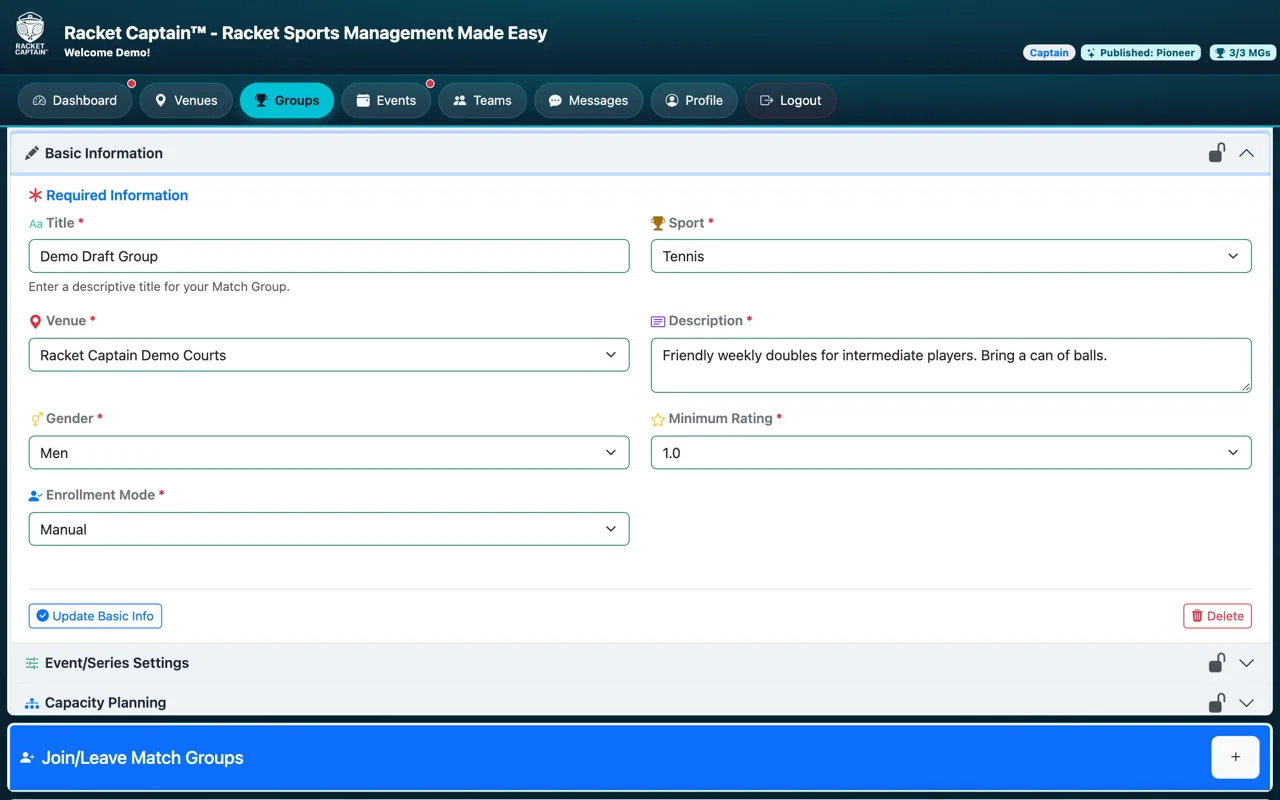
Step 2. Fill in every field — they're all required (marked with an asterisk in the app). Each one is explained in the table below.
-
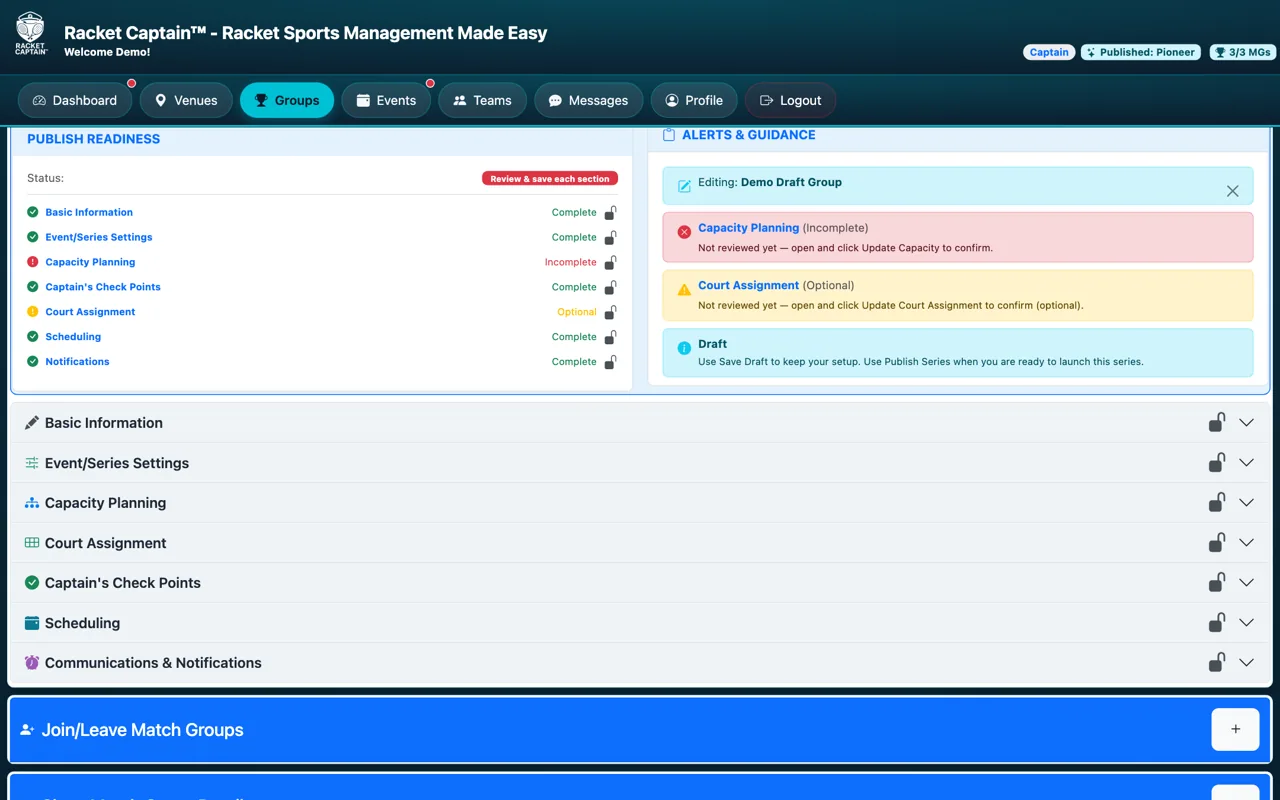
Step 3. Tap Create Match Group. Your group is saved as a Draft: players can't see it until you publish, and the other sections open up for you to fill in.
Fields in this section
| Field | What it means |
|---|---|
| Title | The name your players see everywhere — make it easy to recognise, like Tuesday Night Doubles. |
| Sport | The sport played. It decides which formats and ratings you can choose later. |
| Venue | Where you play. Pick a venue you've joined or recommended — see Find or recommend your venue. |
| Description | A few words players read on the group's details — skill level, what to bring, how it runs. |
| Gender | Unspecified, Men, Women or Mixed. |
| Minimum Rating | The lowest player rating for the group. The list fills in once you've picked a sport. |
| Enrollment Mode | Auto: players join immediately. Manual: you (or a co-captain) approve each request. |
Good to know
- You can come back and change Basic Information later with Update Basic Info.
- A draft is private — use Save as Draft as often as you like while you set things up.
- When every section is complete, Publish Readiness says so and you can publish. See Publish Readiness → Publish.